Showing posts with label craft tutorial. Show all posts

Tuesday, December 18, 2012

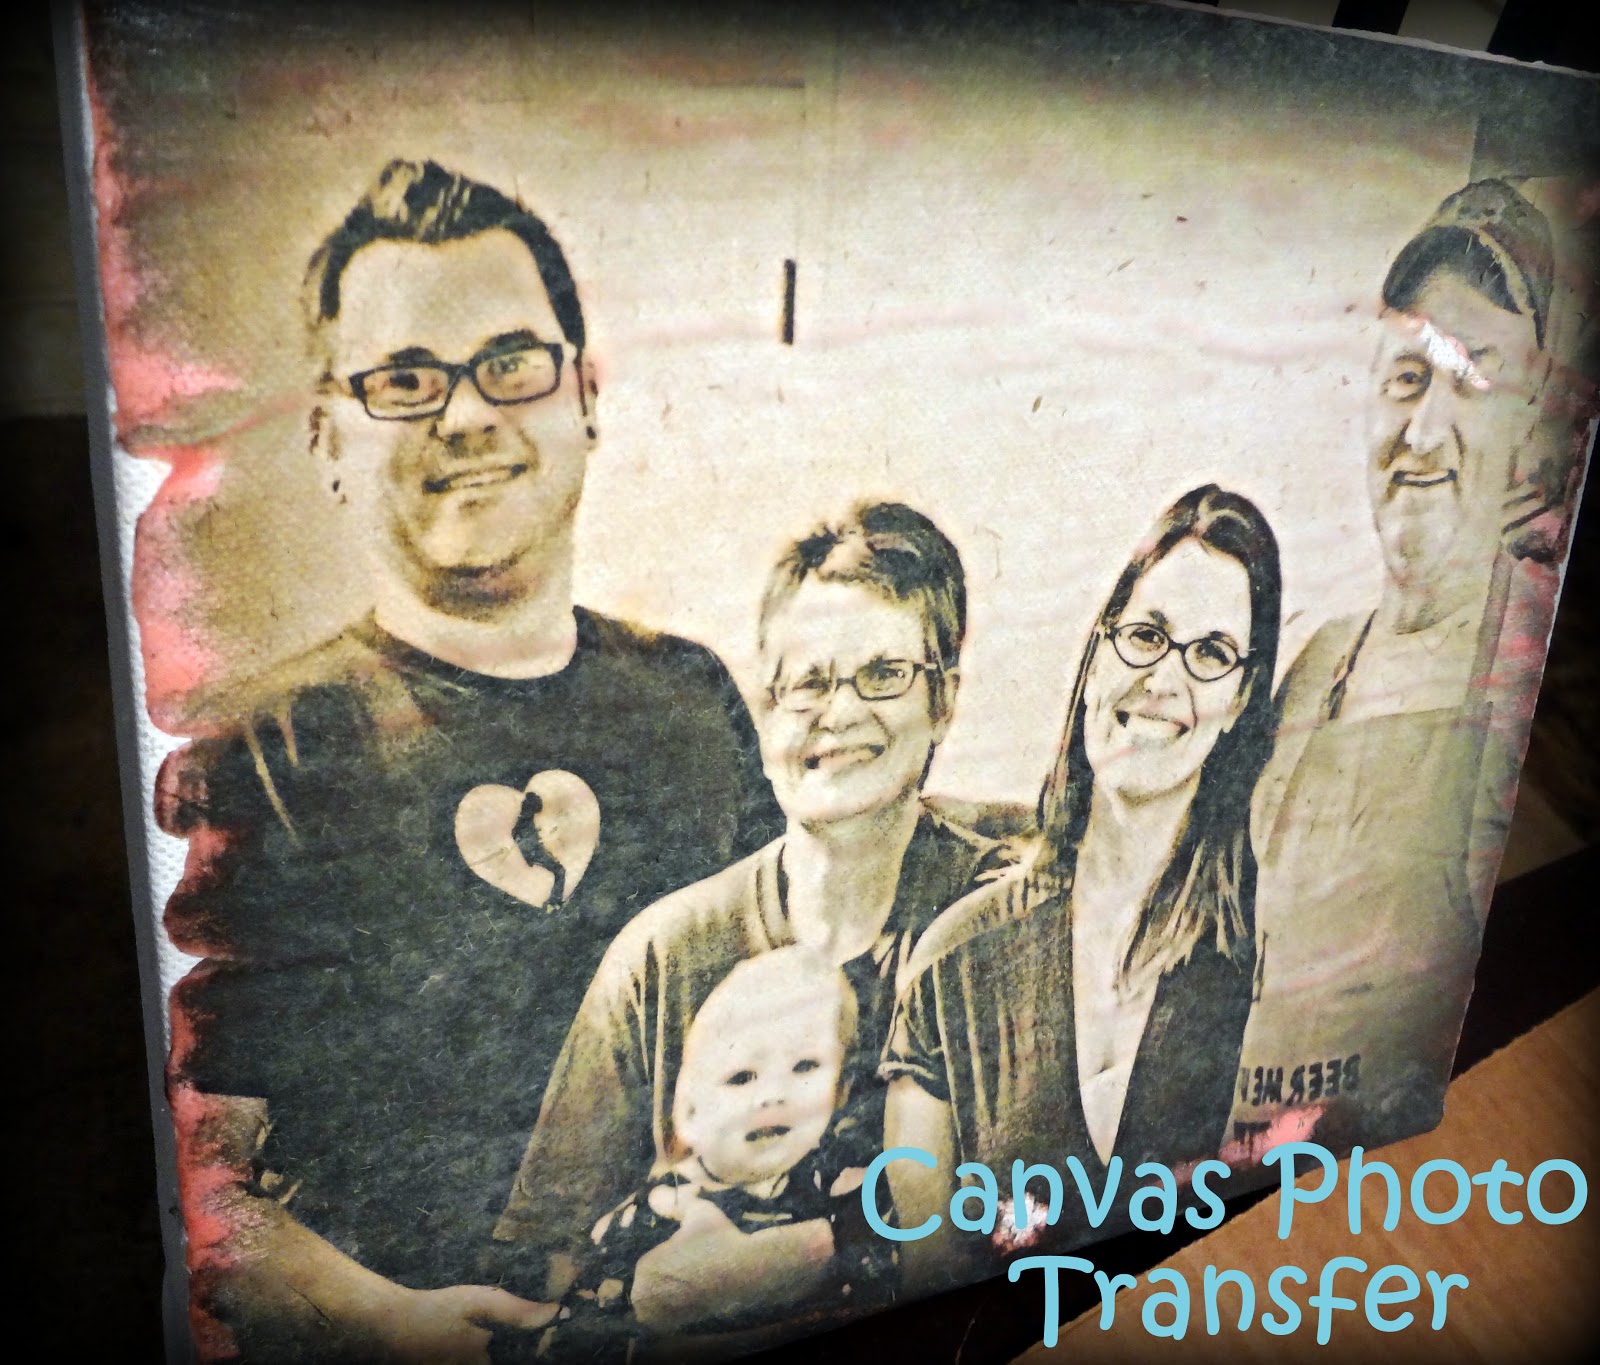
DIY Gift Idea: Canvas Photo Transfer


Don't bother checking.  You are at the right place.  I am aware that I haven't crafted in seventy bajillion years, but I did a craft this week!!  Naturally, I must share it with my favorite blog readers ;)  Especially since there is one week til Christmas!!!  Eek!

This craft took about 10 minutes of actual work, with a few hours of drying time.  

So, let's get to it.  You don't have much time til Christmas!  Better get crackin'.

For this super easy DIY project you will need:

8x10 stretched canvas
picture printed from a laser printer or copier (8x10)
gel medium (available at craft stores)
mod podge clear coat
paint brush
water bottle
cat (optional)
cheese and crackers (optional)

Step 1
Paint a thick coat of gel medium on your canvas.

Step 2
Lay your picture down face down on the wet canvas.  Let it dry for a couple hours or overnight.

Here's how it looked after about an hour of drying.

Step 3
Spritz the paper with some water and start peeling off layers.  You may have to rub some off.  Don't rub too hard, though.  Be gentle with faces (in this project and in everyday life...I'm weird).

Paint it with Mod Podge to seal.  See, I took out part of my Dad's face.  Be more careful than me.
Cute, right?  You can also do this with a piece of unfinished wood, instead of a canvas, but I haven't had much luck with that.

Happy Crafting :)  If you want more DIY gift ideas, here's my round up from last Christmas.  Don't judge the pictures too harshly, friends.

project from A Beautiful Mess

Monday, September 17, 2012

Sharpie Doodle Mugs


Guys, I used to be a hard core doodler.  I doodled like nobody has ever doodled before (possible exaggeration??).  I would write notes in bright marker, draw dogs and cats on my work clipboard, sketch some Fall leaves on my September calendar.

A shift happened somewhere in my adulthood and now I doodle no more.  Well, rarely, if I do.

I need to get back to that place and get my doodle on-I hear it is good for the brain.  I'm going to lay down some butcher paper on my dining room table and pretend like it is Macaroni Grill.  I will doodle some of these:
And a little of these just to get me warmed up:

But before I do all that, I had to break out the Sharpie markers and made some fun mugs.

All you gotta do is.

1. Go to the Target dollar section (or Dollar Tree) & get some mugs.  This pair of 2 stackable mugs was $3.
2. Doodle to your heart's content on the mugs with some Sharpies.
3. Bake in the oven to set the marker (350 degrees for 30 minutes).
4. Handwash only, y'all!

If you are just going to use mugs to hold pens, you can skip the baking step.

I keep trying to think of other doodles I used to do a a kid/young adult.  There was the face of the boy made from the actual word "boy."  Did anyone else do that?  
Feel free to share your doodle ideas with me.  It will only help me in my journey ;)

Have a great week!

Monday, August 27, 2012

Duct Tape Flower Pen Tutorial


Remember how this is a cooking and crafting blog?  The answer to that is probably "no," because it has been so long since I got my craft on!
I'm slowly getting my crafty mojo back with some simple crafts (like this safety pin bracelet).  
This easy, duct tape flower pen is really fun and perfect for back-to-school time!
I received this awesome zebra and green duct tape pen from my super sweet and talented 11 year old niece, Kaelyn.
Here she is now!
Well, K totally inspired and led this entire tutorial.  I just took the pics.
So, take it away, girl!

Supplies needed:
2 coordinating colored/patterned rolls of duct tape (you can find these at Walmart, Target or crafty stores)
Scissors
X-acto knife (make sure you supervise children or clumsy adults when using sharp objects!)
A regular ink pen
A cutting mat (or something you can safely cut on without damaging your table)

Step 1: Measure your pen & cut tape
 Lay your pen on a strip of duct tape and cut a piece to wrap around it, leaving a little excess at the top of the pen.

Step 2: Wrap it up!
Wrap the pen in the duct tape and trim excess with scissors.
 Pinch it closed, like this:

Step 3: Make your petals
Take your coordinating duct tape and measure out some 4" strips.  You can either do one at a time, or get a couple petals ready for assembly at one time.  

Take the strip and fold the top corner over to make a triangle, leaving a little strip of tape on the side.
Fold it again in another triangle, using the extra bit of sticky tape to seal it.
Then lay your pen down and wrap the petal around it.
 Like this!
Then you basically just repeat this process, switching up duct tape patterns/colors so you have a nice layered effect.
I actually like how it looks better with the pattern as the base, as seen in this one.
So, I wrapped a little strip of star patterned tape around this one to finish it.
Ain't it cute??!!

A big thanks to my niece for this exciting craft & fun times ;)

See y'all Wednesday with What I Ate Wednesday!!

Friday, July 13, 2012

DIY: Beaded Safety Pin Bracelets


I used to live at the mall.  No, not literally.  But as a teenager, we had a new mall in our city, and it was the place to be.  So, I pretty much went everyday.

Now that I realize that the mall is just super crowded and mostly overpriced, I don't really go.

I did happen to be there last week and moseyed into an accessory store.  Seriously.  A giant store crammed full of every accessory you could ever want or need.  Hmm.  I wasn't that impressed.

Until I saw this.  And thought I can totally make this.  That's what rings my bell, folks.
It is just safety pins, beads and elastic.  Guess who went to the craft store the next day?  Craft stores are the new malls in my world.

You need safety pins, seed beads (tiny beads) and elastic string.


Here's the steps:

1. Put some beads on your safety pins.  I probably used 60 safety pins (for a normal adult lady's wrist).
2. Cut some elastic a little bigger than your wrist and string the safety pins on with the beads going in the same direction, alternating the direction of the safety pins.
3. String the bottom of the pins on the second string.
4. Continue until bracelet is filled and tie in a double knot.


This bracelet is so easy, it would be a great craft for kids to do on those long, boring summer days!


Why is it that I never realized how awkward it is to take pictures of a bracelet while you are wearing it?
Well, weird pictures aside, this is my new favorite thing to make!  So simple and not messy.


Happy Weekend, all!

Friday, May 18, 2012

DIY Flip Flop Makeover

Finally, I had a craft project that turned out pretty good!  Thanks so much to my awesome cousin for sending me this idea!

I've been craft-failing all over the place lately.

This one is super easy, so that even the least crafty person can do it!

Here's the step by step:

Start with an old pair of flip flops (I upgrade to new white flip flops every year, because they get so dingy.  These are last year's).
You'll also need some fabric & scissors.
Flip those flops over and clip the straps off.
I'm not proud of how dirty these look.
Cut some fabric strips.  I started with 3" in width, but soon realized it was too thick, so I cut these strips in half to be about 1 1/2" in width.
I didn't measure anything with this project, by the way.  Just eyeballed it.
So, you'll need 4 strips in total.  Cut the ends to look like this.  All pointy and stuff.
Now take two strips and face the brighter sides towards the middle (if that makes sense) and squeeze them through the top hole.
Make a knot & clip it.
Put your foot in there and tie a double knot above the parting of your big toe and second toe.
Squeeze the tails in the bottom two holes and pull them tight tight tight around your feet.
Tie 'em.
You're done!
Optional~reinforce the knots on the bottom of the flip flops with some hot glue, if you want.
This project is a great way to use an old pair of flops or even a broken pair & give them new life!
If you are wondering what I'm drinking, it is Crystal Light pink lemonade blended with some ice.  No rum today, friends!

This project came from The Mother Huddle blog

Friday, May 4, 2012

DIY Mesh {Textured} Nails

ignore the messy cuticles!

I'm just gonna tell it like it is today, folks.

Ok, so I pretty much do that everyday, but I'm talking specifically about trial and error today (OMG, that was so ironic.  When I typed "error" the first time I added 3 r's, making it "errror."  Crazy).

I realize that this is supposed to be a craft and cooking blog, but crafts have been noticeably absent here lately.

I just thought I'd let you know it is not for lack of trying.  I have actually been attempting crafts here and there.  But then I get frustrated when they don't turn out how I plan.

Does anyone else experience this?

Well, this nail art turned out to be a fail, but then it was sort of salvaged.  Kind of.  Let me know what you think.

I have been thinking about a textured nail for a while.  You see, I'm not the most "sure handed" nail artist and alot of times I don't have a smooth finish that I'd like.  So a texture would totally cover that up!

I actually went out and bought this sponge specifically for the mesh bag it came in.

You can see I've gone a little bonkers.

Alright, let's do this.

Get your pretty polishes all in a row.

I used all Sally Hanson.  She should send me something free.
Shocking Sherbert & Gone Grey, plus top coat.

So, here's what NOT to do:
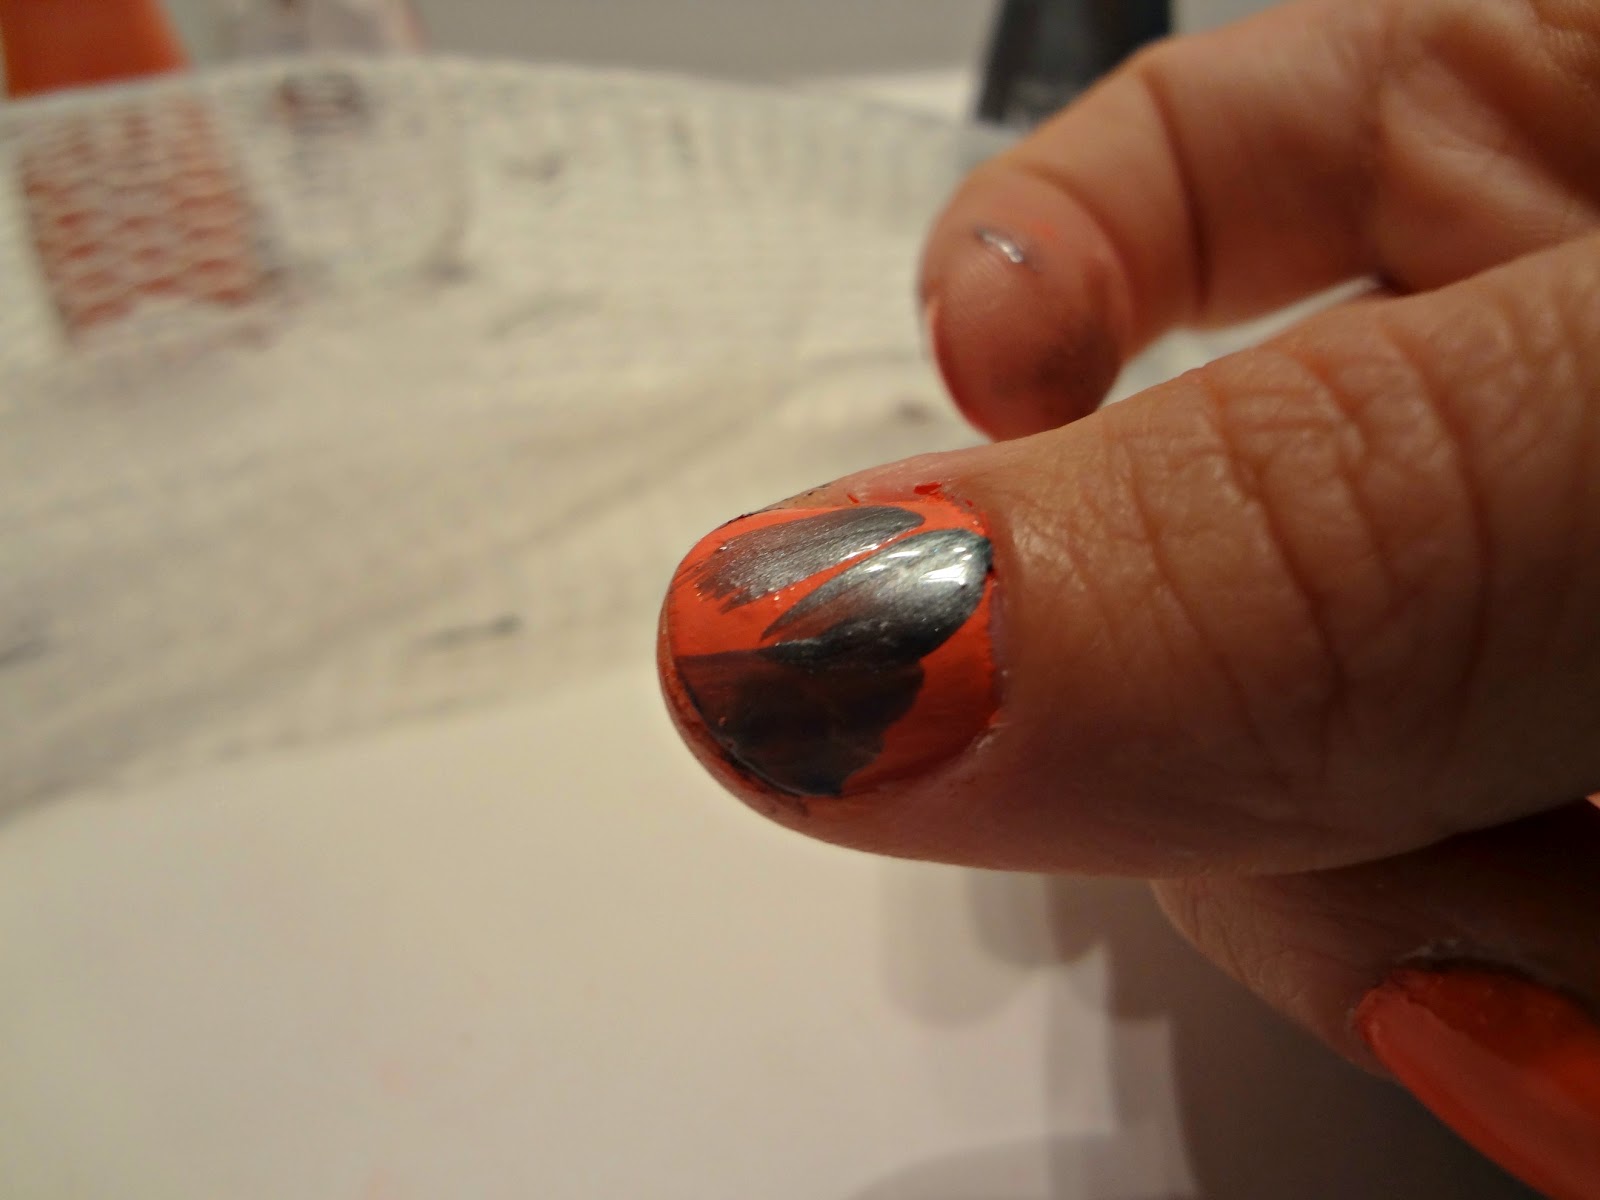
I thought I could use the mesh as a stencil.
Apparently not.
Here's a better way:

Paint a little of your top color, then dab or "sponge" it with the mesh until you get desired texture.
somebody get me some lotion
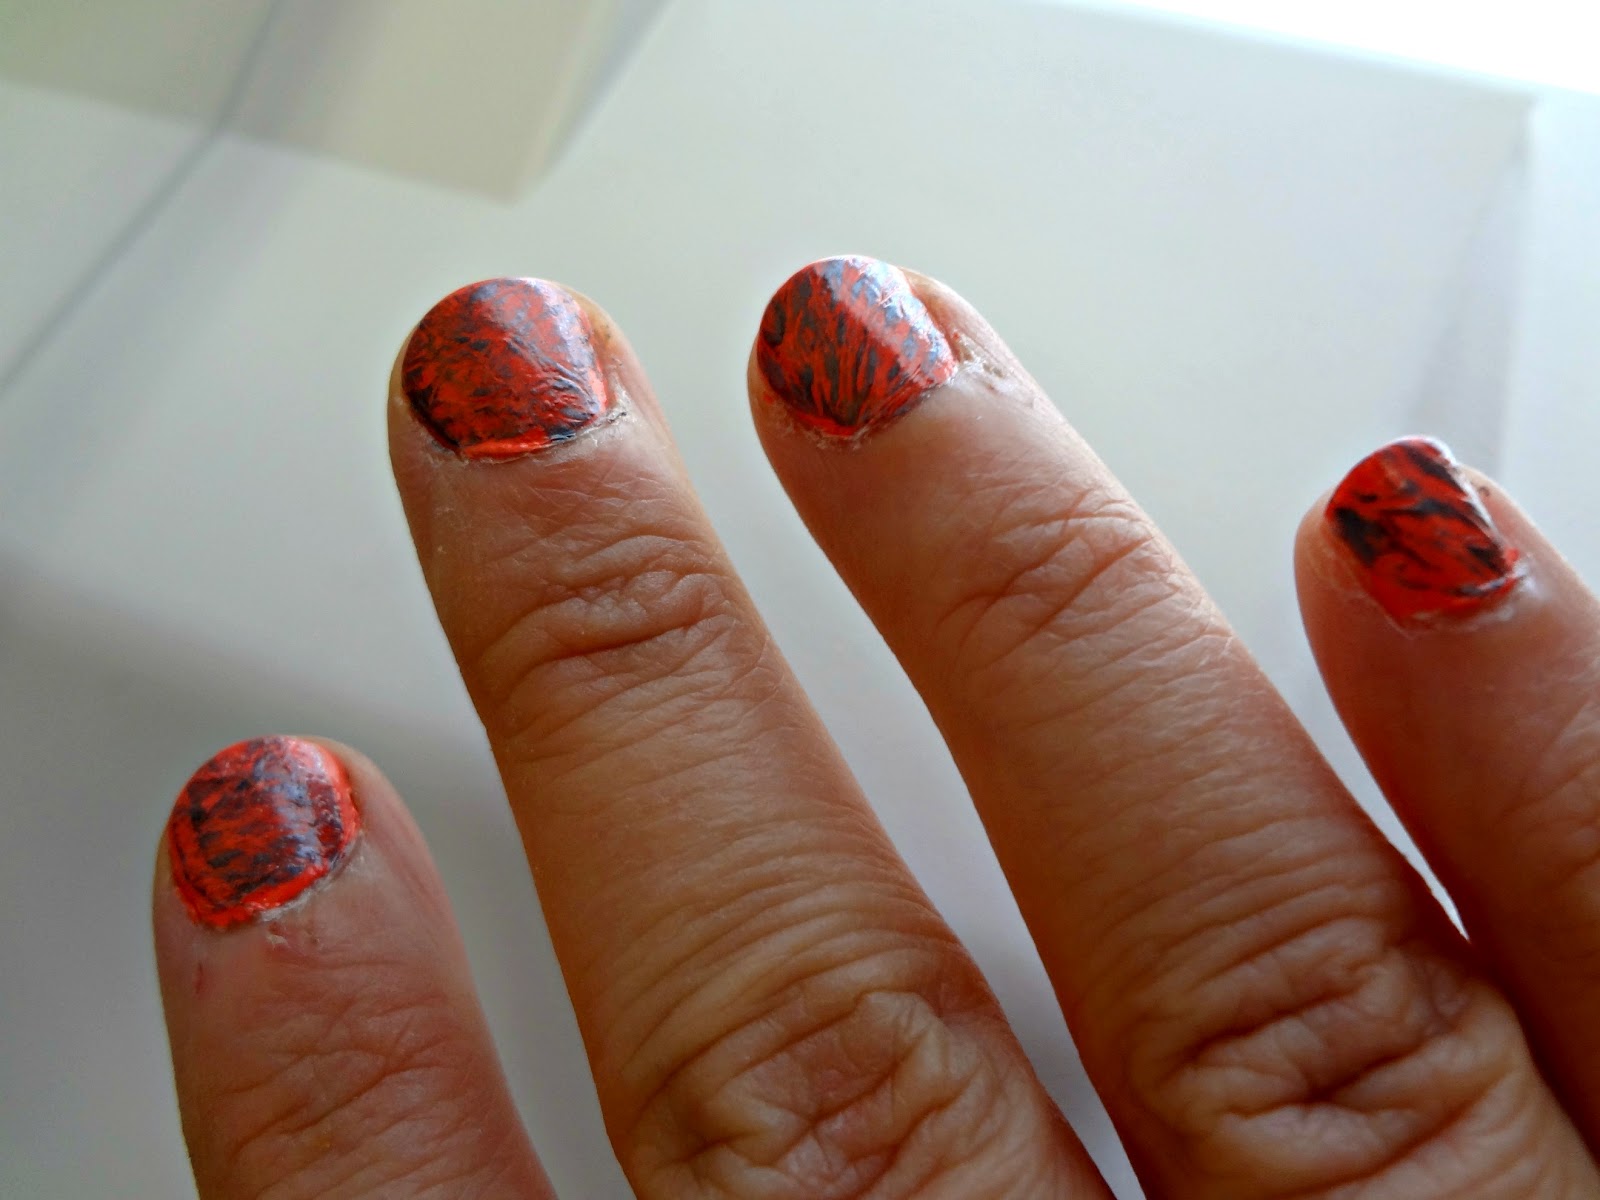
Well...I don't hate 'em.

The grey tones down the bright neon color.

Actually, they remind me of this:
orange zebra
Orange zebra print!  

Let me tell you that I just lost 30 minutes of my life searching for an image of Slater from Saved by the Bell wearing his orange zebra pants.  I know he has some!  They are in my brain.  I just can't find them on the internet for some reason.  Mario Lopez probably had all images as such destroyed.

Well, let me know if you have any thoughts on my attempt at textured nails.

If you didn't follow the steps through my ranting, here's a breakdown:
1. Paint your base coat color & dry
2. Swipe on some of your top coat color (not covering the whole nail)
3. Dab with mesh, then dry
4. Apply clear top coat