

ignore the messy cuticles!
I'm just gonna tell it like it is today, folks.
Ok, so I pretty much do that everyday, but I'm talking specifically about trial and error today (OMG, that was so ironic. When I typed "error" the first time I added 3 r's, making it "errror." Crazy).
I realize that this is supposed to be a craft and cooking blog, but crafts have been noticeably absent here lately.
I just thought I'd let you know it is not for lack of trying. I have actually been attempting crafts here and there. But then I get frustrated when they don't turn out how I plan.
Does anyone else experience this?
Well, this nail art turned out to be a fail, but then it was sort of salvaged. Kind of. Let me know what you think.
I have been thinking about a textured nail for a while. You see, I'm not the most "sure handed" nail artist and alot of times I don't have a smooth finish that I'd like. So a texture would totally cover that up!
I actually went out and bought this sponge specifically for the mesh bag it came in.

You can see I've gone a little bonkers.
Alright, let's do this.
Get your pretty polishes all in a row.

I used all Sally Hanson. She should send me something free.
Shocking Sherbert & Gone Grey, plus top coat.
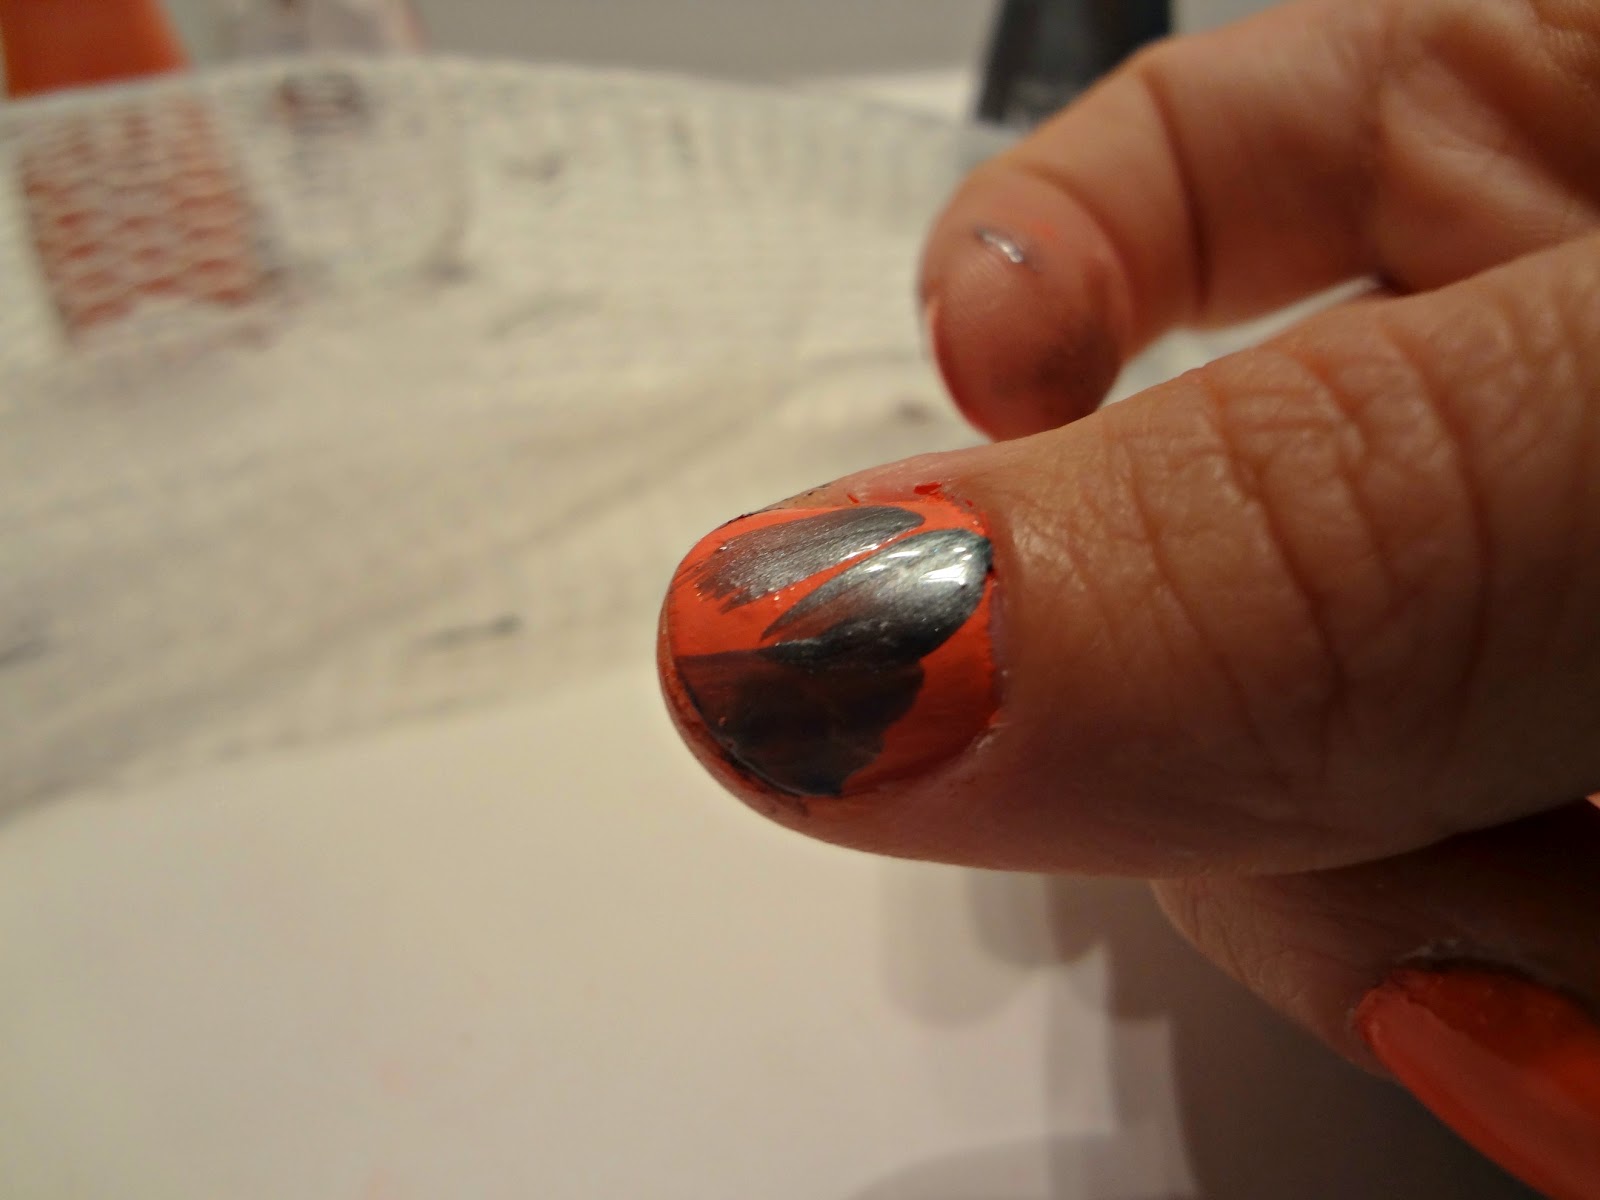
So, here's what NOT to do:

I thought I could use the mesh as a stencil.
Apparently not.
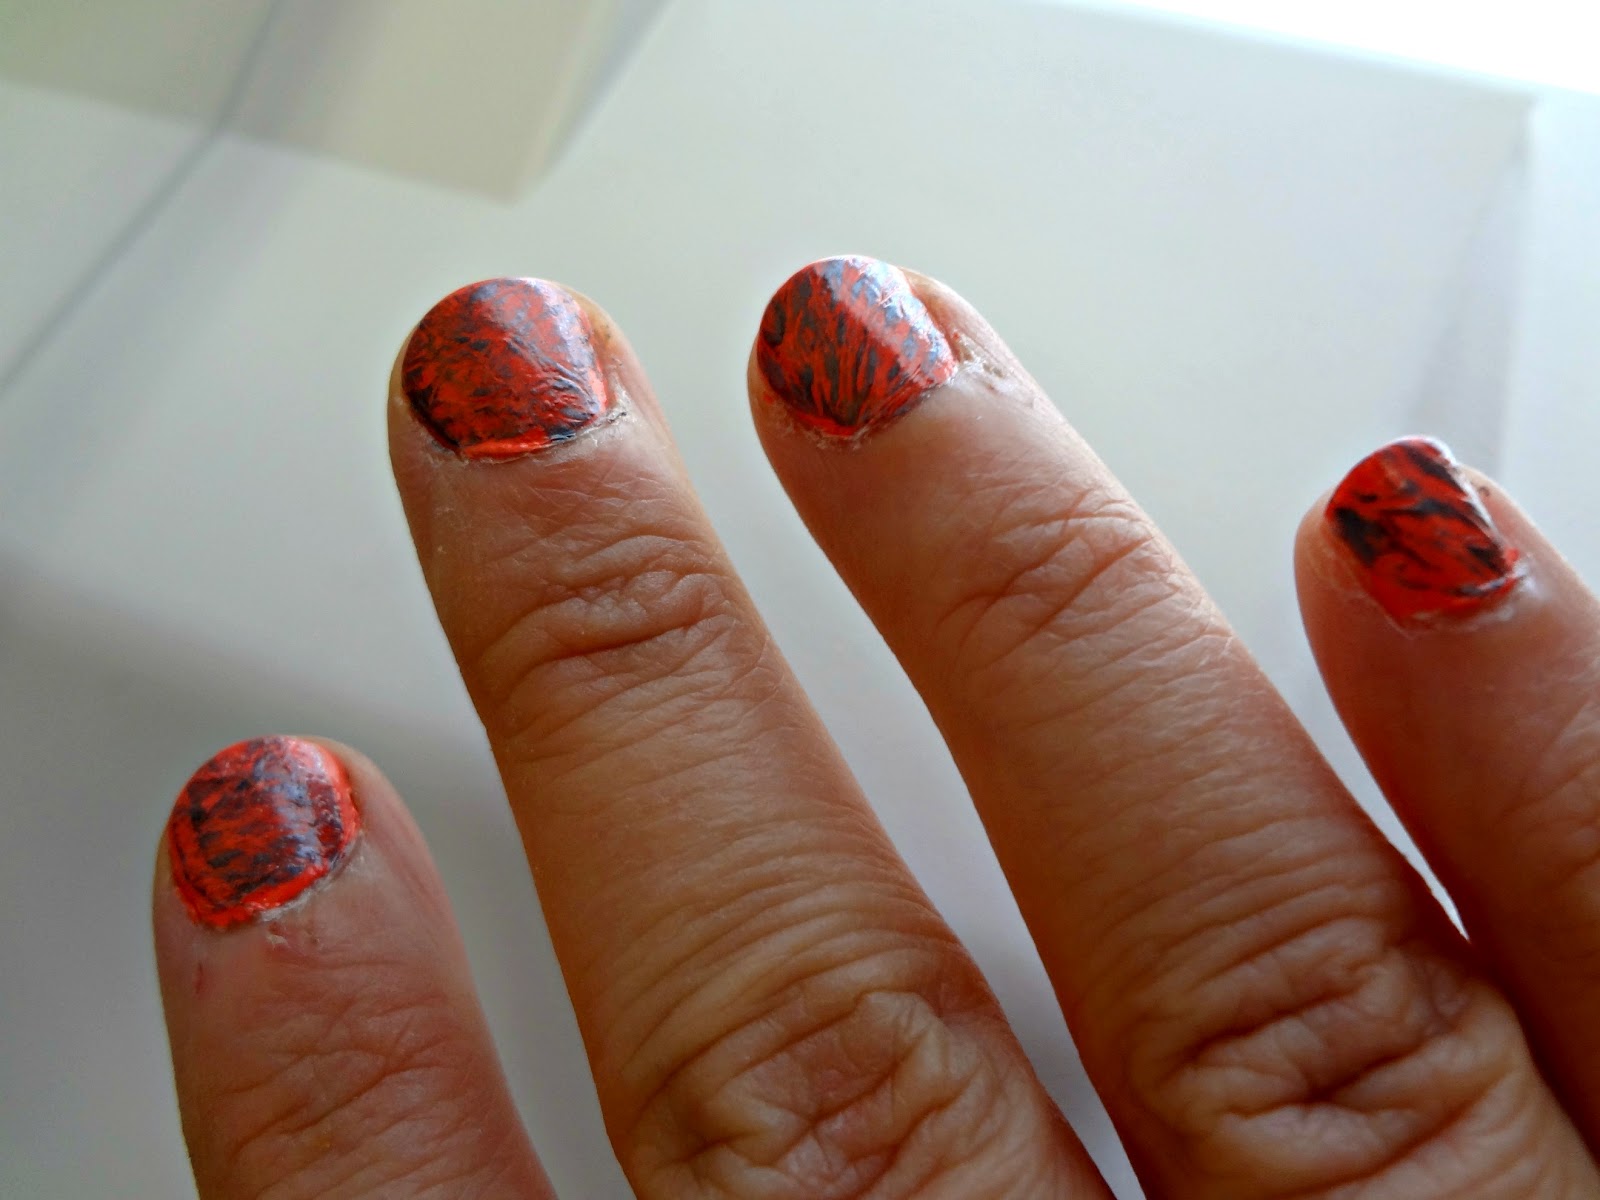
Here's a better way:
Paint a little of your top color, then dab or "sponge" it with the mesh until you get desired texture.
somebody get me some lotion
Well...I don't hate 'em.
The grey tones down the bright neon color.
Actually, they remind me of this:

Orange zebra print!
Let me tell you that I just lost 30 minutes of my life searching for an image of Slater from Saved by the Bell wearing his orange zebra pants. I know he has some! They are in my brain. I just can't find them on the internet for some reason. Mario Lopez probably had all images as such destroyed.
If you didn't follow the steps through my ranting, here's a breakdown:
1. Paint your base coat color & dry
2. Swipe on some of your top coat color (not covering the whole nail)
3. Dab with mesh, then dry
4. Apply clear top coat


No comments:
Post a Comment